30/03/2015

Beaded Jewelry & Vintage Nightshirt

 After a long pause, I decided to make some jewelry for a change. I find making jewelry very relaxing. But on the other hand, so is sewing, knitting etc. ;) I like combining colors and shapes though I usually end up with tone to tone jewelry. I think it is much easier to match the clothes, especially if you are already wearing a patterned dress.

So here´s what I´ve been up to past few days:


I´ve had this selection of red beads for about a year and a half. The selection hasn´t just bright red shades, but also coral and brick shades, which I didn´t like that much. All in all I wasn´t very inspired to use these beads in my projects. Browsing beading books I got the idea to combine these red beads with hot pink and silver beads. I like the vibrant and warm outcome. I will be wearing these beads after all!


I bought this butterfly glass pendant couple of months ago and now I really wanted to use it in some jewelry. This is my own assemble and it uses the same colors as the butterfly: purple, lavender, bronze and black. 

I made one similar pendant bracelet like this before using instructions from a book Vintage-Style Jewelry by Deborah Schneebeli-Morrell. I bought the glass beads specially for this project. The previous bracelet was made using light pink and lavender beads with silver chain. While I was making this one, I figured I´m making exactly the same bracelet using exactly the same color palette. So I quickly added dark purple bicone beads to make the appearance darker and more purple than the other bracelet.


The idea for this set came from a book Designing Bead & Wire Jewelry by Renata Graham. The book has a picture with a necklace similar to this one. I loved it! The gold-amber shades and the idea how the beads are "locked" in small groups using the wire. I had to have it, so I bought these beads specially for this set. The book doesn´t have instructions for this necklace but it was easy to figure it out from the picture.

This Victorian style necklace is from a book A Beading Romance by Kelly Wiese. All the projects in this book are made using beading thread and a needle. This is a first piece of jewelry I used this method on. It is not difficult but it takes practice. The individual rings of beads are made and then connected together. 


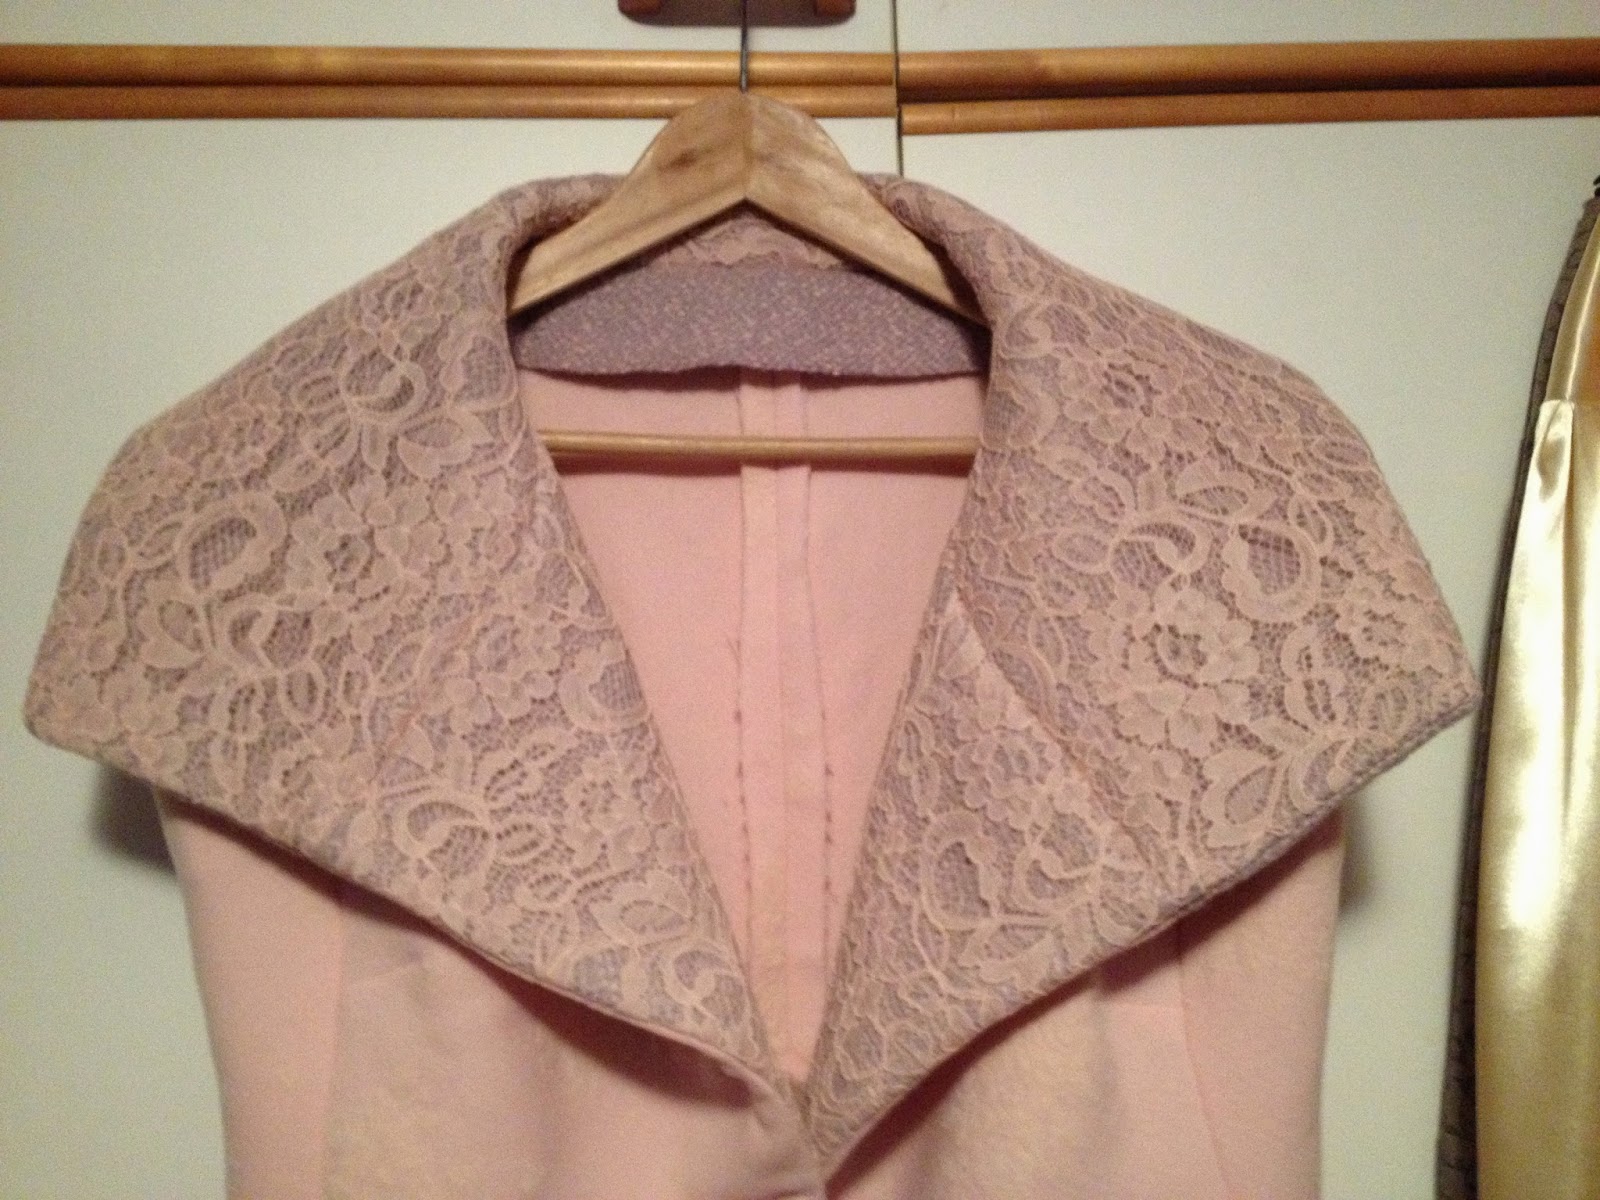
And some sewing of course ;) This is a Vintage Nightshirt from December 2014 issue of Burda magazine. I plan to make the whole collection of nightwear from this magazine. This nightshirt has A-line and a large pleat in back. 


The letters are embroidered by hand since I haven´t try yet the darning presser foot on any of my machines...

I used a contrasting dark red lace trim instead of matching satin binding.

19/03/2015

Singer 221K Featherweight

One of my favorite vintage models is Singer Featherweight. They are very popular among quilters and seamstresses. Because of their compact size they´re easy to bring along to sewing classes etc. And I mean it is in fact possible to bring them along, not like other models advertised as "portable" but even lifting them on the table feels like a hard labor. Gerda is one of those machines...

I was lucky enough to come across this beauty and didn´t hesitate to bring her home with me. Here she is:
Singer 221K Featherweight "Fiona"

Back view of the machine.

Fiona was made in Great Britain in 1955 and had only one owner before me. Previous owner took a good care of her. 
I cleaned her thoroughly and oiled and lubricated all parts as the manual suggests. Her rubber feet were strangely melted, so I had to scratch them away and for the moment I have replaced them with some felt protectors. I bought new rubber feet which I will install on her later at some point. 

Fiona has her original motor. And still runs strong! I think I will have to buy a new belt though, the original one seems to be a little worn out place to place.

MADE IN GREAT BRITAIN <3 
This really means a lot to me.

Lovely trademark in gold...

Detail of the face-plate and the upper needle tension dial. 

Featherweight has vertical bobbin case and uses special Featherweight type bobbins. Unfortunately Fiona had only one bobbin with her. I will have to put in an order for more bobbins...

Fiona has her original case. Good thing I don´t have to order that one!

These attachments came with the machine: the hemming foot, the binder, the edge-stitcher, the ruffler, the adjustable hemmer and the gathering foot. 

And an automatic zig-zag attachment with a manual in swedish. Which I will have to crack at some point...
Machine itself had her original manual in finnish.

Booklet is in very good condition, although tiny for my taste. I´m really tempted to print the english version in size A4 as I have printed for other vintage machines. We´ll see...

50´s Shawl Collar Coat - part II.

Finishing the seam allowances of lining with Bebe. The lining is quite see-through, so this will make it look better and even.

Wrong side of the lining with finished seam allowances.

Using the blind hem presser foot for sewing hem. Before I used to sew this by hand... This is so much faster! :) I increased the stitch width to 4 as this is thicker fabric and the auto-adjustment wouldn´t catch the upper fabric into the stitch. The coat´s hem is finished with Bebe too. 

Over-edge presser foot. I finished facing´s lower edges with it. It has a ditch that prevents the fabric from slipping in wrong direction. Handy, if you don´t have an overlocker... (...or you´re lazy to go to it at the moment ;)
A finished coat! I´m pleased with it. It´s quite fitted model so there won´t be any thick sweaters worn underneath. But it´s ok, this was ment to be a lighter coat...

Fancy large collar. :)

A detail of the lining.

16/03/2015

50´s Shawl Collar Coat

The weather is getting warmer and my winter coat starts to feel hot. I need a "transition coat" , warm enough to protect against the cold wind but thinner than a regular winter coat. This pattern is from last year´s November issue of Burda magazine, High Society Collection, nice! ;)


There wasn´t enough of fabric for whole coat in the store and I definitely wanted just this one so I´m improvising with the collar and facing. I got a grey-dusty pink boucle fabric which I will line with matching lace fabric.

Cutting the pattern. Since I don´t have a large cutting table (yet), I´m rolling the fabric as I´ve pinned the pieces and then I start cutting from the open end. This way I can be sure everything fits in.


The pieces are cut out. Now the boring part, transferring the pattern...


All the pieces sandwiched together. And look who thinks it is a new nest for her, Geisha cannot resist fabrics...

"This pile is mine!"


The fabric wasn´t feeding equally so I decided to try my new walking foot, aka Even-Feed Foot. It is a low shank attachment so it fits Henrietta well. And it really works, I´m surprised! The thing is, it is a bit slow for my taste. I like to sew quite fast, especially straight boring seams. Of course it might be the thick fabric´s fault it was slow. ;) I will have to try this attachment with some cotton fabric and see how it works there.  Since this isn´t a plaid, where would be lines to match, I switched back to regular presser foot.

Front view at the walking foot.


A large working space indeed! Henrietta is going strong. :)


I really like the oversized shawl collar on this coat. The right side is lined with lace fabric.


Coat awaiting the sleeves and lining. Oh, and the buttonholes!


Henrietta´s automatic buttonhole presser foot was too small for the buttons I bought. So I´ve made the buttonholes with Patsy´s regular buttonhole presser foot.

 And some knitting for a change...


Blocking the shawl wrong side up.


I have finally finished Victorian Rectangle With Center Diamond Pattern! :) This shawl is from the book Victorian Lace Today by Jane Sowerby. Although I´ve had this book for years, this is the first project I´ve made from it. The center diamond pattern was really easy to work and the shawl was knitted quite fast. But the border pattern took a while to memorize. I don´t mean attaching the border as you go, nearly the stitch pattern. Anyway, I´m very pleased with the outcome, the yarn is gorgeous as well and I shall be making more shawls from this lovely book!


A detail of the knit-on border. This is a clever technique which gives unlimited possibilities for edgings.

09/03/2015

The Oversized Fashionista Bag-part II.

It´s finished!!! I got slightly bigger rivets than I had (they were the biggest ones in the shop),so I was able to attach the SUPER bulky straps and loops to the bag. 

Finished bag with piped handle and chain shoulder strap.

Detail of the metal parts. It was rather difficult to attach the eyelets and rivets through all those layers of bulky fabric. For a moment I thought it won´t be possible. But where´s a will there´s a way. :)

Bag´s interior with the flush-zip pocket. I was able to attach only the front of the lining to the exterior with Gerda. Back was too thick with the lap, so I sewed it by hand with a large needle and a very strong thread. Also the top of the lap is sewed by hand.