28/02/2015

The Oversized Fashionista Bag

I have started a new project- The Oversized Fashionista Bag. The pattern is from the book The Bag Making Bible by Lisa Lam. I have made one bag from this book earlier, the Great Getaway Bag and I love it! The patterns are easy to follow though making the bags is time demanding. This project has been waiting for it`s turn for about a year and a half. So, finally here we go!


Here are the materials I will be using. Purple-grey boucle fabric for exterior, purple african cotton for lining, some interfacings, flexi tube, zip and some metal gear.


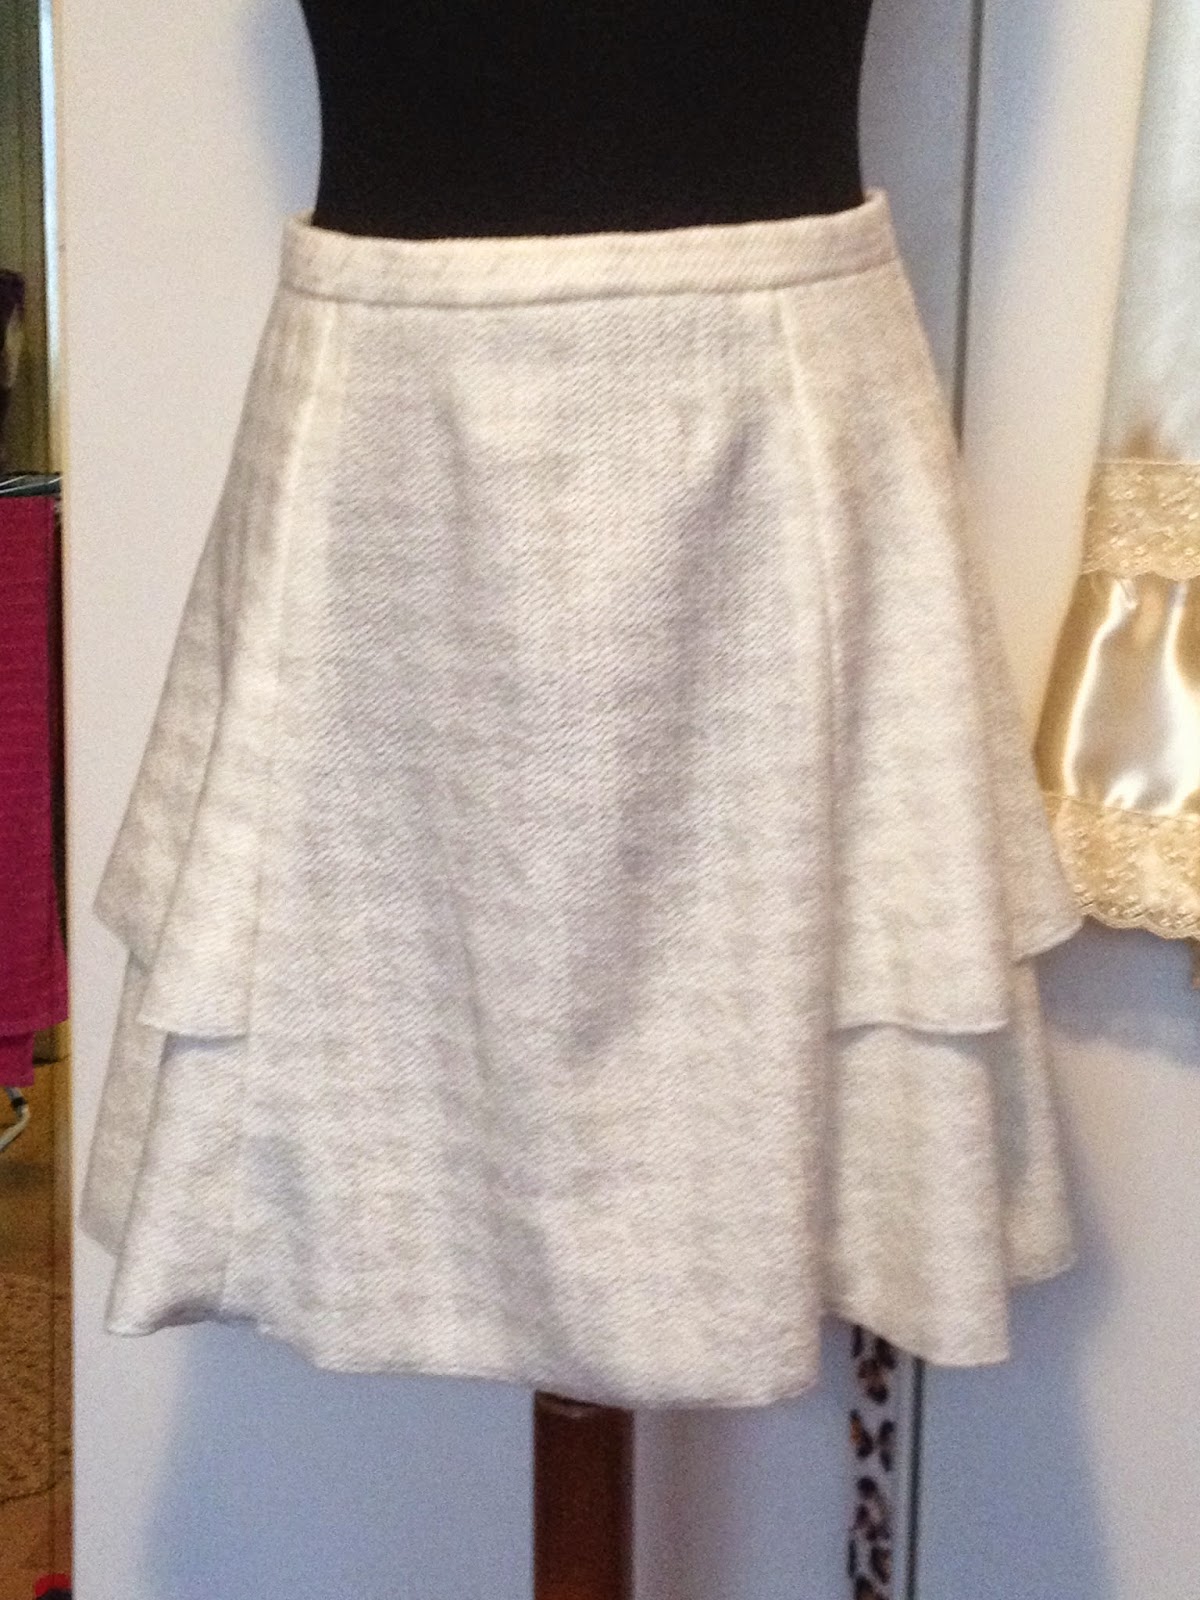
A detail of the boucle fabric. This is a lovely virgin wool blend fabric but it´s VERY thick.


A detail of the african cotton fabric. This is quite thick, sturdy fabric with some glitter on it. It doesn´t really drape so it´s quite perfect for making bags.


As I mentioned before I intend to sew this bag with Gerda . I started with shoulder strap, piped handle and some loops. As you can see on the picture, the problem is that the fabric (well, many layers of it) is too thick and at some point doesn`t really fit under Gerda`s presser foot. 


So I couldn´t finish the handles and loops with the machine. And I don´t think any of my other machines will do the job either. I will have to use rivets to hold the handles and loops together. Unfortunately I don´t have that thick rivets right now. I hope I´ll be able to get some next week. I´ll get the largest rivets in the shop!


Mr. Basil owns his straps of course and swipes me away from them. :)


Tailor´s awl, a great tool for making holes through multiple layers of fabric. 


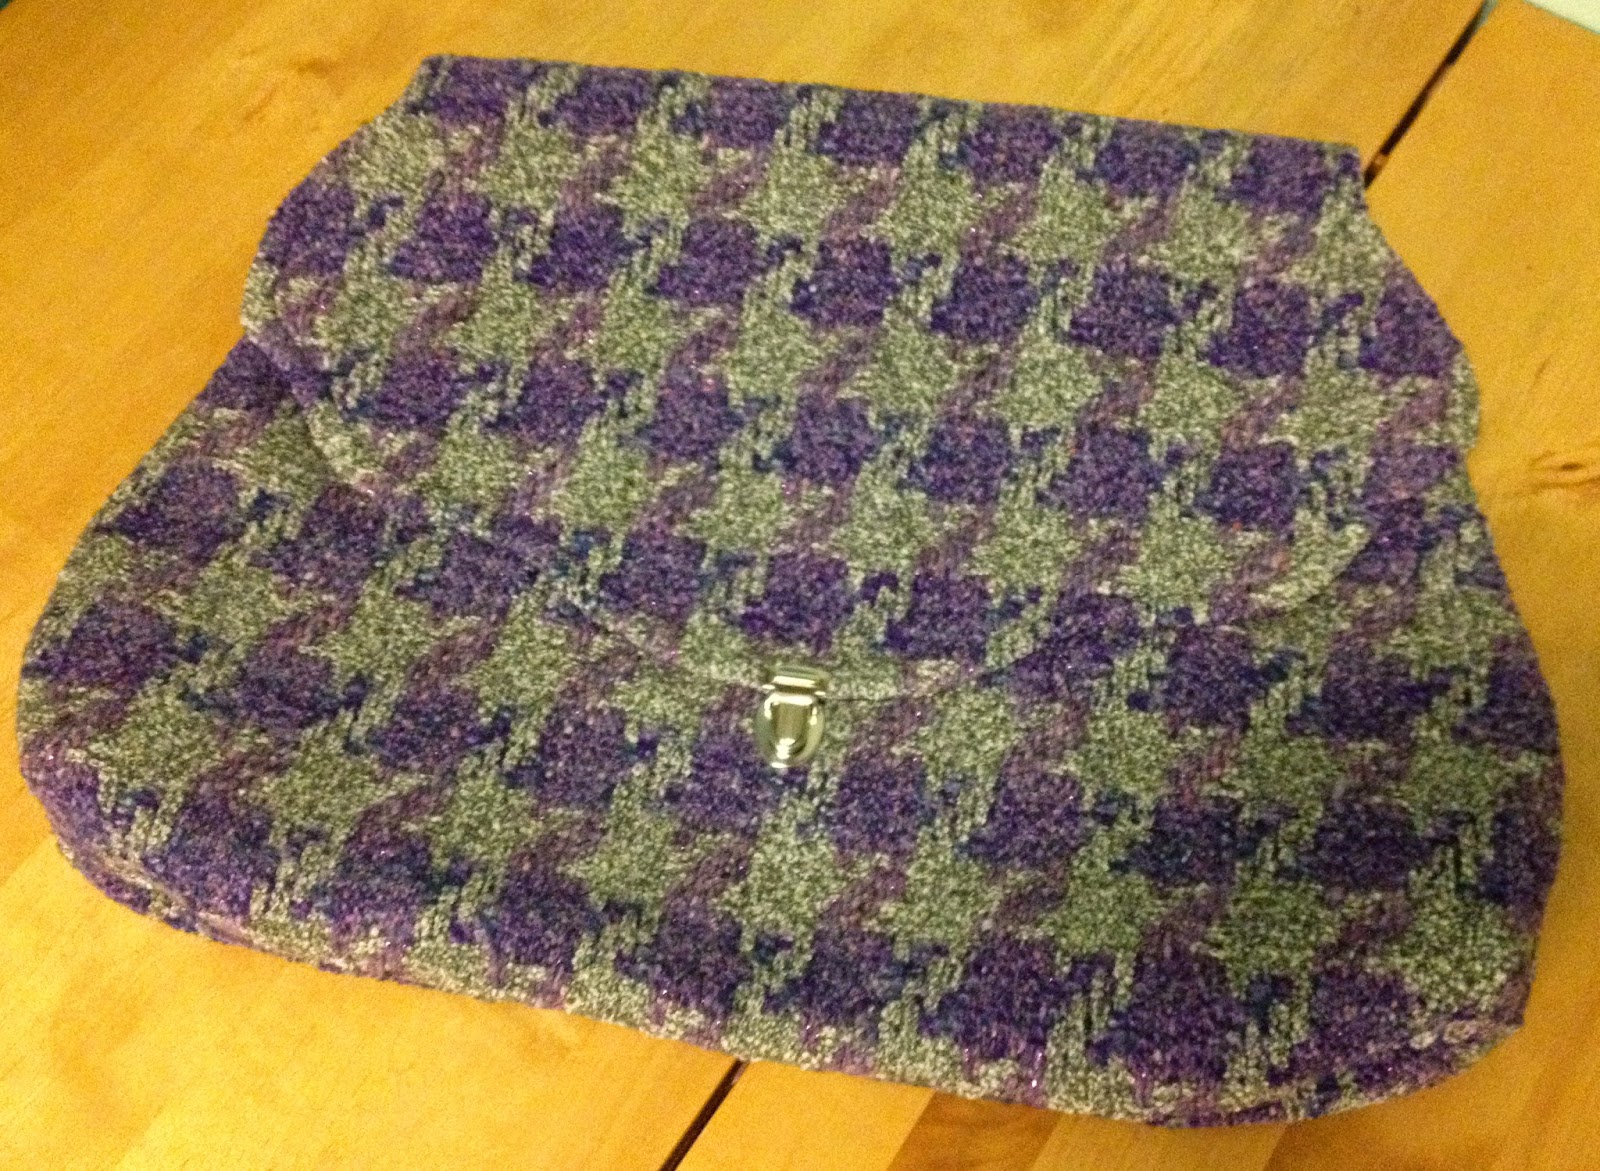
The bag exterior is finished. I only need to attach strap loops with rivets.


Flush zip pocket in lining. Inserting the zip was the only thing I sewed with Henrietta because I don´t have the high shank adapter yet. Rest of the bag is sewn with Gerda and well she sews! :)

I have to put this project on hold until I get proper rivets...

27/02/2015

My first vintage sewing machine!!!

Please let me introduce you my first vintage sewing machine! I bought her a week ago in auction. I went to pick her up by myself, by train, with no trolley. "How much a sewing machine can weight really?" Dear God she was heavy! Never again without a trolley or proper transport...

So here she is:

She`s a Singer 411G, made in Germany around 1964. I named her Gerda.

She was in quite good condition, she wasn`t rusty or messy and she sewed right away. She sews leather too, yes! I wiped her, cleaned the bobbin area, cleaned the area behind the face plate. I polished the needle bar and the presser feet bar. Then I installed some felt covers on her feet so she won`t scratch the table. Her old rubber feet-covers were worn out.
Following the instruction manual (Oh yes, I have printed it, 107 pages!!!) I´ve oiled the holes on the top, the mechanism behind the face plate, the bobbin area and the holes on the bed. I didn´t oil and lubricate the machine from the bottom because I don´t have the sewing machine lubricant yet. And she doesn´t seem to need it yet.


Bobbin area after cleaning. I only got two plastic bobbins and no attachments with her. I know she uses type 66 metal bobbins. Luckily I know where to get them, I will be buying a lots of those! :)
She has high shank so at the moment I cannot use any of my attachments from other machines. The high shank adapter is already ordered. ;)


I love the threading on these old machines, look how many thread guides! I think they make the thread go smoother and if there`s a trouble with upper thread, you can see instantly which guide isn`t threaded properly. As oppose to new machines where you just pull the thread through the face and one guide. All the mechanism is inside the machine and you cannot see what went wrong...


Gerda had her original hard-cover with her. Hard-cover provides safe and easy transport. I changed the felt covers there too. Although I will be making a quilted cover for her later. I hope I can have her on the table ready to go...


The lamp works! But it points to a funny direction on the bed instead of on the needle, so I probably won`t be using it. I´ll use my table lamp.


You cannot see the stitches in this boucle fabric but they are perfect! The presser foot is tiny (compared to what I´m used to) and it has a "forky" front which gets tangled easily into the loops of boucle fabric. I hope I´ll get my high shank adapter soon since the boucle fabric is for my next project and I´d like to sew it on Gerda.

20/02/2015

Ruffled Mini Skirt With Layered Side Panels

Out of a hunger to make clothes I started a new project, a miniskirt with side panels. The pattern has been published in last months Burda magazine. I like the Winter Wonder Collection from this magazine and I have already sewn a coat from this collection. I´m using the fabric remnants from the coat for this project.

Here`s the fabric I´m using. A white knit with shiny silver houndstooth print. The print isn`t showing much. And as you can see it`s quite see-through fabric so a petticoat will be needed.


I´m finishing the seam allowances with the overlocker so they will last as well as look good as they will be visible through the skirt. Another thing, the pattern says that hem is to be left unfinished. I don´t like that, it will unravel (it`s a knit) and look untidy. I could have sewn a narrow zig-zag stitch on the edge but it would still look untidy. So I finished the hem with overlocker too. I will leave the hem non-turned so the finishing will be visible.


Basil is helping me to press the seams open. :)


Attaching the side layers together.


And here`s another helper who snack up to the overlocker while I was sewing and started to play with  the threads. No harm done, Jia is careful. :)


A closer look at invisible zip and waistband finishing.


Front of a finished skirt.


Layered side panels give a nice flare to the skirt.

This has been a nice quick project. I am pleased with the outcome, it´s a nice casual skirt and it feels comfy so I think I will wear it a lot. We`ll see. :)


18/02/2015

Bebe`s dust-cover

Hello everyone, welcome to my new blog! I will be writing about my projects, experiences with various textile techniques and equipment (oh I looove gadgets!), designing, historical costumes (I like to call them clothes because that`s what they were) and other nerdy stuff. The blog is still under construction, I will be adding material as I get to it. I hope I will be able to offer you some tips and tricks to use with your own projects. :)

My first post, Bebe`s dust-cover

I cannot stand the plastic dust-covers that come with sewing machines today. However I think machines should be protected against dust. Take good care of your machine, it will serve you longer, right? ;)

So here is what I made for my new overlocker called Bebe (Bernina 800DL):


Quilted top with 7 stripes of various cotton quilt fabrics. Embellished with yo-yos, ribbons and decorative stitches. 


I used some home dec fabric left-over for sides. And I added controlled pockets to hold Bebe`s notions since the machine doesn`t have a locker of its own to hold them. Controlled pocket means that it has a piece of elastic on its top to hold the items inside but you still have the easy access to the items.


And finally... My latest gadget- tape binder and binding presser foot. I bought the whole set-four tape binders, presser foot, tailors awl and pins. Surprisingly the presser foot fits exactly to my Singer machine. I didn`t have much hope that the tape binder would actually work, but it did! It works great, making your own bias tape is so much faster with it. The binding presser foot takes practice to master. Feeding the tape and the fabric simultaneously into the foot and taking care the fabric (in this case a thick one) doesn`t slip away. I was taught to sew one side of bias tape with machine, fold it over the edge and sew the other side by hand. This attachment method is invisible. When you use the binding foot, you will always have visible stitching on your bias tape. But for this project that`s exactly what I wanted. I used the narrow zig-zag stitch to make the stitches even more popping out.